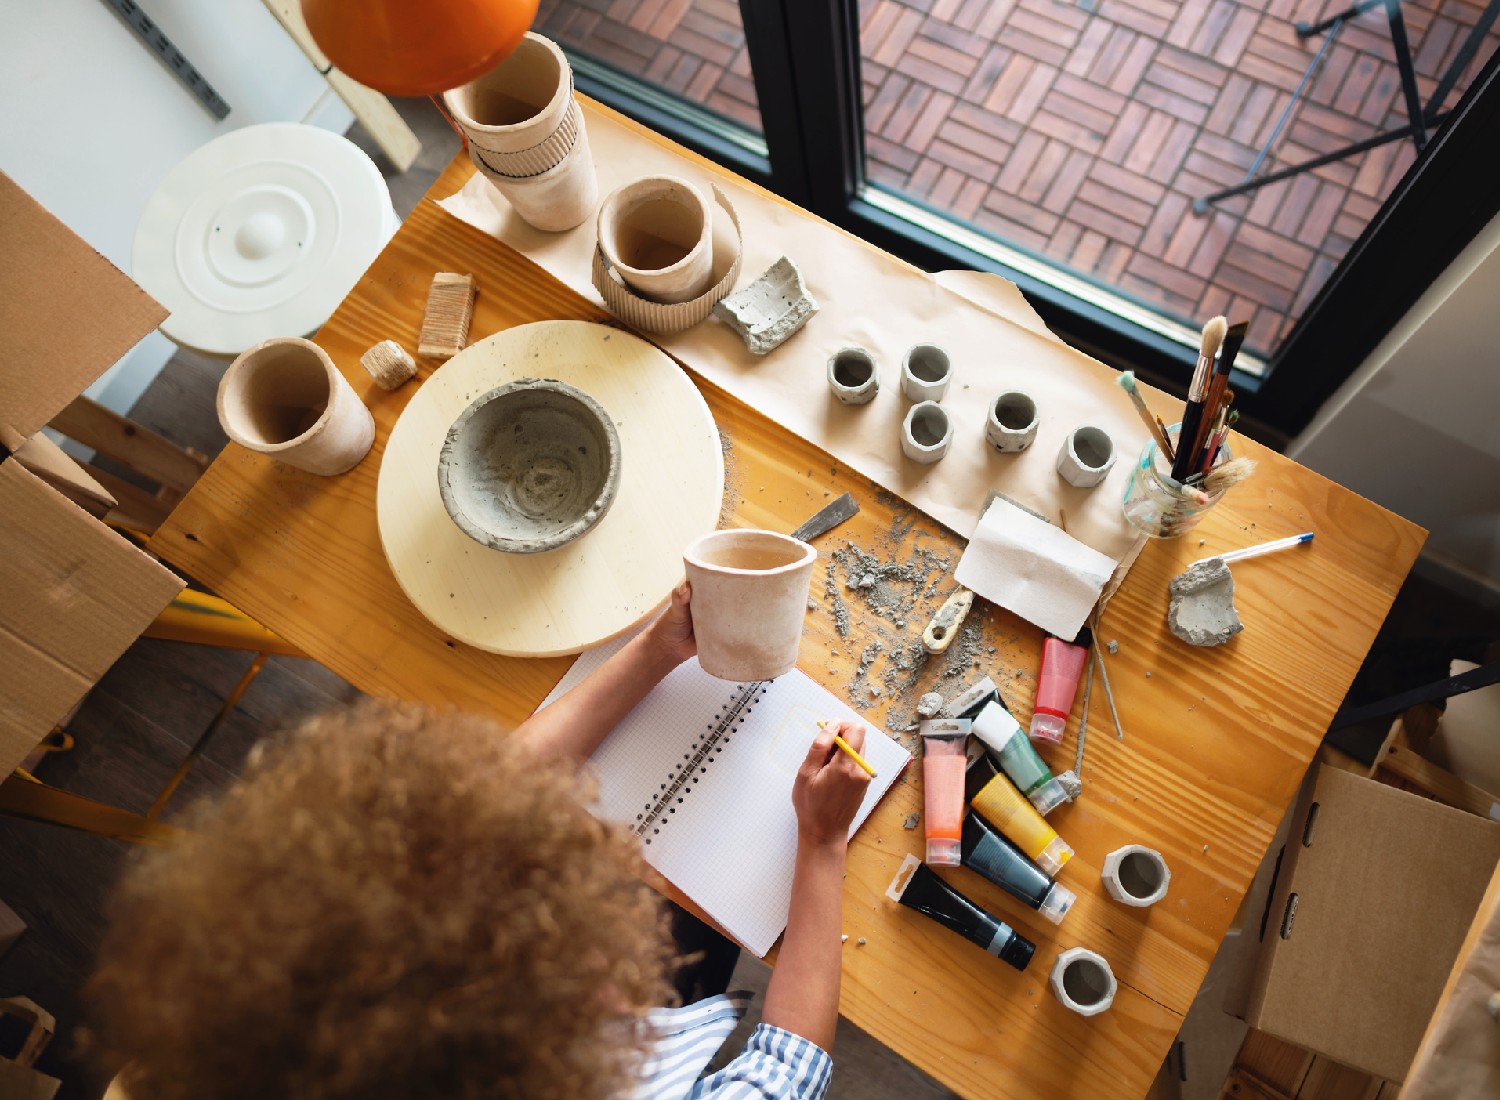
Home Pottery Projects for Beginners

Pottery making is an ancient craft that humans have practised for centuries. Today, it’s a popular hobby people of all ages and backgrounds enjoy. If you want to get started in pottery, you’ve come to the right place. This post will share some easy pottery projects that even beginners can make.
We’ll give you tips for creating pieces like vases, mugs and bowls. We’ll also tell you what tools and materials you need and give you our best tips and tricks for baking and glazing your pieces. So, if you’re ready to get your hands dirty and bring your ideas to life, let’s get started!
Supplies Needed for Home Pottery Projects
Clay is the most basic material for home pottery projects. Many types of clay are available, each suited for different projects. The most common type of clay used in pottery is earthenware clay. This type of clay is versatile but needs to be fired at a high temperature, so it’s not a great option for home use. Instead, you can use polymer clay that is perfect for home oven use.
You also need basic pottery-making tools such as sponges, carving tools, rolling pins, needles and loop tools. These are used for shaping and forming the clay into its desired shape. Investing in a beginner’s pottery set may be helpful when first starting with pottery since it usually includes all the essential tools you’ll need to get started.
Basic Pottery Techniques
Wedging is an important technique used when forming clay into shapes by hand. It involves taking a lump of clay, repeatedly rolling it out and folding it back onto itself in an up-and-down motion until air bubbles are released from the clay, creating a smooth texture.
The Pinch Pot Method is one of the simplest approaches to creating simple forms such as bowls or cups by hand. Start by rolling the clay into a ball, then use your fingers to pinch the sides, eventually shaping it into its desired form.
The Coil Method is another simple hand-building technique to form various shapes, such as vessels or jars. First, roll out clay coils from thin strands and then stack them up into the desired shape before smoothing out any edges or joins with a water-soaked sponge or finger dampened with water.
Baking and Glazing Pottery
It’s best to dry your pottery using a low oven temp (be sure to follow the directions given on the clay you used). It’s also important to take extra care when prepping your pieces for glazing, as glazes may not adhere properly when fired later on if the pottery is not dried properly. Patience is key when preparing your pieces for glazing.
Glazes provide an extra layer of protection over your pottery piece, giving it vibrant colours that enhance its overall look once fired. Therefore, it is essential to take extra care when applying them over your pieces, ensuring full coverage without uncovering any areas. Any uncovered areas may be prone to thermal shocks leading to cracking during firing. Just make sure all areas are properly coated before moving on to further steps. And if needed sand down clay before glazing to get a smooth look.
After applying the glaze to your piece, you’ll either have to wait for it to dry or you’ll have to need put it back in the oven according to the clay and finish’s directions.
Cleaning and Storing Tools
Taking a few minutes to clean up after each project can go a long way in preserving the quality of your tools.
Properly storing tools is also essential. That’s why it’s a good idea to store your tools separately in a safe, designated place.
Conclusion
Homemade pottery is an enjoyable and rewarding hobby that anyone can enjoy regardless of skill level. Starting your first project with the right tools, supplies and knowledge is easy. And with a little practice and some time, you’ll be able to perfect your technique and create beautiful pieces of pottery.